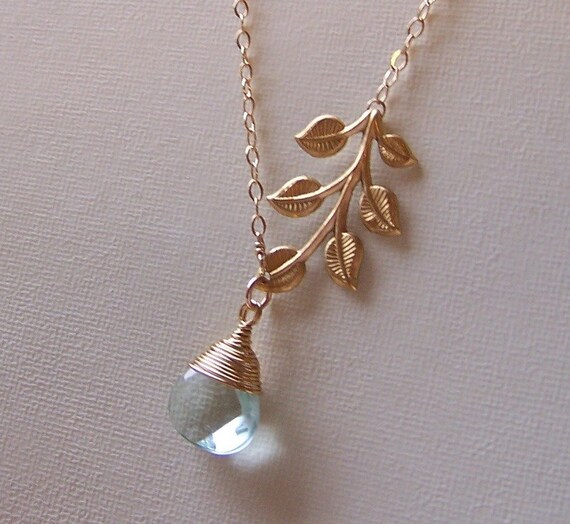
This site has moved! Old posts will remain here but new posts will be at www.embergrass.com/blog. Please go there to keep up with new content and re-subscribe!

Showing posts with label Latest Designs. Show all posts

Friday, 2 December 2011

New Long Necklaces

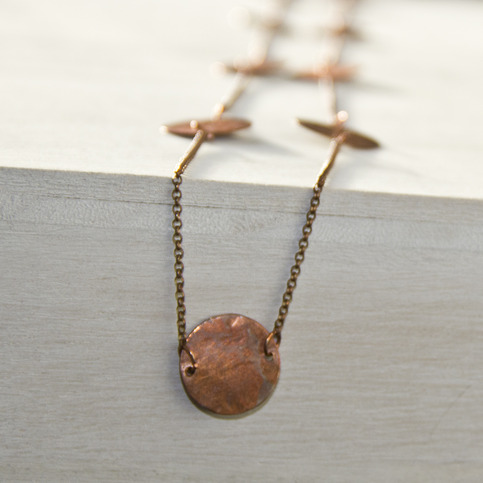
Sundrops Long Necklace
This necklace has had a lot of love since I first listed it a few months ago. Long necklaces are such a staple of the boots-and-leggings-or-skinny-jeans type wardrobe and copper fits perfectly with that style too, so it's hardly surprising. I think my own copy is probably the single most worn item in my collection!

But, no longer. I've finally expanded my long necklace collection with, not one but three new styles!


The first is heavily inspired by the current Squares line and keeps the simplicity and regularity of the Sundrops necklace above.

Squares Long Necklace

The second is similar again but takes its inspiration from a custom piece I made in August and features a focal pendant in addition to the decoration of different sized solid and hollow circles around the length. This new necklace will be the signature piece for the Circles line when I revive it in January.

Circles Long Necklace

The final necklace is much more dramatic and has a more modern feel with its straight lines and regular bars. This is the first in a completely new (unnamed) line and I'm currently working on a matching bracelet.


One more new thing is the chain I'm using for all my pieces. I've upgraded from a fine copper rollo chain of unknown metal composition to the pictured double rollo copper plated chain. Every link in the new chain is made from 2 tiny, tiny little copper links, which lends a much higher quality look to the pieces (though it's very annoying trying to thread both links!)

Look out for these necklace on my shops soon, I'll do my best to get them listed by the end of the week so there is enough time to buy them for Christmas gifts. I still have a few other new things on the way as well!

Thursday, 17 November 2011

Previews!

Wow, it's been a really long time since I posted about new designs. I've had such a lot to do with preparing for my first craft fair and I've also been trying to get all my spreadsheets in order and make sure I know exactly how much its costs me to make each item as well as how long it takes me.

The problem is that most of that is boring so I've had to force myself not to even think about new ideas because then I'd have to sit down and make them and the boring stuff would just never get done.

I did allow myself a little time to make a few new items in the end though. Whilst I was frantically attempting to be a production line I did decide that my display really needed a few different items (not earrings!) to give a bit of structure and line. So I allowed myself to make a few very simple new items which would fulfill that purpose.

Squares Pendant

The first of these is the Squares line - a completely new line, currently featuring a pendant and earrings. These debuted at the craft fair in Santa Rosa and were an instant hit, in fact, I sold out of all but the display copies while I was there! Needless to say, I will be making more and, now I have the photos taken, will be listing them in my shop very shortly.

Squares Earrings

Next are 3 new pieces for the Sundrops line. These have one of the simplest designs in my shop and are designed for people who prefer small and delicate jewelry.

Sundrops Pendant
The earrings pictured have a small, turquoise Apatite bead on but they are also available in green Peridot and orange Carnelian or without a bead at all.

Sundrops Apatite Earrings

The bracelet is a simple, charm style with many handcut copper discs attached to a copper curb chain. As always, I can make it in custom sizes on request.

Sundrops Charm Bracelet

The final piece I made new for the craft fair is this pair of earrings. A rectangular, African Opal bead sits atop a small fringe of fine copper chain.

African Opal Earrings
The other things I did make in the run up to the craft fair were many colour-variations on existing designs so if you loved a piece but not its colour look out for those options online soon!

I have been holding several more complicated ideas in my head over the last few weeks and, just as soon as I get my spreadsheets finished and my current items listed, I will finally be making those and sharing them with you just in time for the holidays!

If you like any of these items keep an eye out for them in my shop, I will be listing them before the end of next week.

Friday, 23 September 2011

Crafting the Curled Corners Ring

I listed this ring a couple of weeks ago and it instantly attracted a lot of attention so I thought I'd share with you exactly how I go about making a piece like this.

The first stage is marking the measurements on a sheet of copper metal.
I use a red sharpie because the red shows up but not as obviously as green or blue. This makes it much easier to clean off later, although soldering pieces removes the pen anyway. Once the sheet is marked I can cut out the strip of copper.

I heat the strip of copper and cool it down again so it is more flexible and easier to bend. I then shape it around the correct-sized section of my ring mandrel and cut off the extra copper.


Next I have to file the cut edges to make sure they fit flush with each other and to make sure they are clean ready for soldering.

I curl the corners of the ring before soldering because otherwise the join would solder all the way along and the corners would be stuck. Once the ring is soldered I may come back to the corners and curl them a little more.


Once the corners are safely out of the way I solder the middle section, that still meets, so it is permanently joined. At this stage the ring is really pliable so I will put it back onto the mandrel and neaten the curve so it is smooth.

I then file the ring again, this time to soften the edges and uncurled corners so they wont scratch anyone.


The final stage is to place the finished ring in the tumbler with steel shot which bashes against it and toughens it back up, as well as returning the copper colour and buffing it to a smooth shine.

The finished result

Sunday, 21 August 2011

Studs

Soldering the post to the front
I had a request recently from one of my friends who has bought my jewelry in the past. She owns a pair of long, dangling copper earrings and asked me if I could make some copper studs so she can wear matching metal in her 2nd piercing.

I love getting requests because they always provide so much inspiration and it seems like copper studs really are difficult to find so, of course, I instantly started thinking about how I could make them.


Starting materials


She was very clear that they had to be small, just copper (no stones or anything) and simple so I started with some small squares cut from a copper sheet. I decided on 24 gauge wire for the post, soldered the 2 together and filed the edges smooth. Finally I tumbled them for almost a whole day to make sure the post was strong enough to keep its shape.

After some extensive online searching I discovered that copper butterfly backs are not readily available so I ordered some clear plastic backs instead, deciding that plastic was probably better than using a different colour metal.

Then I gave the earrings to my friend and asked her to test them for me. After a few weeks she reported that they were still intact and holding up fine so I set about making a 2nd pair to list for sale. By this time I had acquired my disc cutter and I realised that small circles instead of squares could be even better. I also switched up to using 22 gauge wire for the posts to make it sturdier.

This is the finished result, available for sale from my website.


I'm really happy with the way they turned out and I have had an order for a pair already! I do treat the back of the disc with a protective coating to help prevent that green discoloration you can get from wearing copper next to the skin because no one wants green ears!

What do you think? Have you been searching for copper studs, just like my friend? Do you like to have all your jewelry in the same metal or are you happy mixing and matching?


Tuesday, 28 June 2011

What's New - July

The July birthstone (Ruby) items were already featured in my June post - a beautiful matching earring, necklace and bracelet set with striking marquise copper frames and delicate rubies. I have also made these in several other colours which I will be listing at some point as well.
My new sheet metal will also see its debut this month in the form of another matching set - earrings and a bracelet or bangle.


These designs have rapidly become a staple in my own wardrobe; they're just so flexible, they go with everything! I already have plans to adapt them slightly to use different metals and possibly coloured wire.

I also have 2 one-of-a-kind designs for July, both use components which I won't be replacing so these 2 pieces are completely unique.

A sparkly green Aventurine coin bead sits atop a hammered, textured copper doughnut in these casual earrings.


These earrings feature the same beads but this time sat in the middle of a very different design. The delicate teardrop is one of my most popular shapes and this has some intricate wire wrapping to enhance the bottom half.

Which of my new pieces if your favourite? Mine is the simple hammered wide bangle :)

Tuesday, 14 June 2011

Focal beads

Dramatic Fire Agate Coin Beads

Besides my usual 6mm round beads and small, misshapen beads I've started to pick up a few larger beads in different shapes. These focal beads bring a much more dramatic and bold feel to the piece and are usually the sole inspiration for the design of the item.


Here are some of my designs, both old and new, which feature large focal beads:


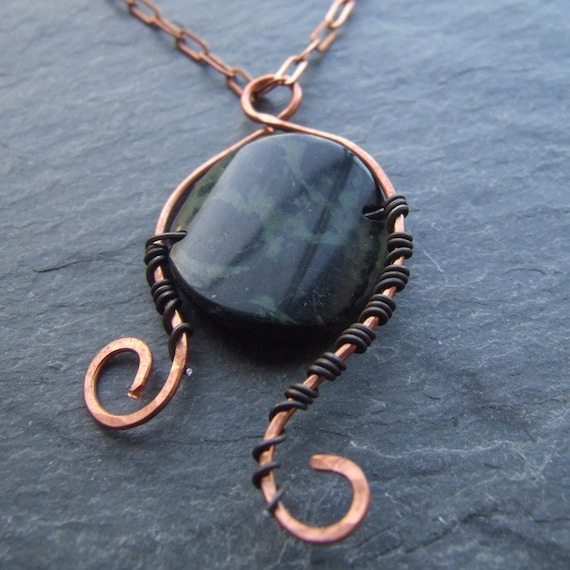
One of my earliest designs of this style, this pendant features a twisted coin bead in Kambaba Jasper with beautiful marbled green and black patterns.

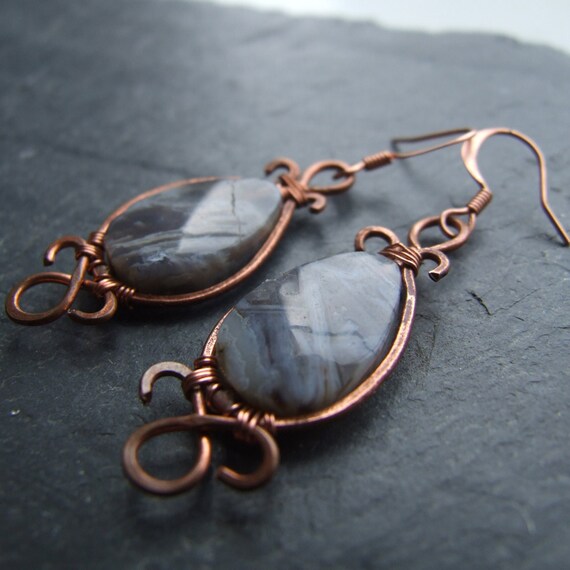
The Victoriana Earrings which were the subject of my latest crafting post. These have a teardrop-shaped Brioche Agate in the centre.

Another very early focal bead design - these Semiswircle Earrings feature a gorgeous pink and yellow Hickoryite focal bead.

Another piece I wrote about recently - the Sun Pendant which I still haven't listed on Etsy. I will be listing it alongside a whole batch of new designs which I have yet to show you!

This is one of the new designs I mentioned. I've actually already sold one pair of these before I even listed them! These feature a beautiful green Agate coin bead inside a large, chunky hoop.

I also have these stunning diamond-shaped Agate beads just waiting for the right inspiration.

Do you like larger, statement beads or do you prefer the smaller, more standard shapes?

Friday, 20 May 2011

Here comes the sun!

Today I want to share with you another of my most ambitious and intricate projects - the Sun Pendant.

I found these Fire Agate beads on sale and couldn't resist their intense colour and interesting patterns. I found a few other focal beads that day but these were by far the biggest and most striking.


When they arrived I wasn't disappointed but I quickly realised that they wouldn't fit the style of any of my existing pieces - it was time to branch out!


Pendant by KSJewelleryDesigns
I wanted to keep the style simple whilst still doing justice to the central bead and I was inspired by designs such as this one:


I went ahead and made up a full design in copper, but realised when it was complete that it wasn't rigid enough and the central stone was free to rotate so I took it apart and made a few key changes.


I started with a soldered circle, only very slightly bigger than the Fire Agate bead. I shaped and hammered 6 little fancy loops and soldered them individually to the circle to provide extra strength to the design. Soldering also makes it much easier to wire wrap the piece when the time comes, though I'm sure technically its cheating!


After soldering the copper has a patina which I usually buff clean. However for this piece I decided to leave the antique finish to enhance the final design. Soldering does make the metal soft and flexible though, so I tumbled the finished frame for several hours to strengthen it and to return the shine to the metal.


The final stage is to wrap the bead into the centre of the circle and then to add wire wrap to soldered pieces for extra strength and also to make the design look nicer. I also added a single piece of wire across the back to prevent the bead from turning around in its "setting". One of the hardest parts was working out where to attach the chain, I toyed with the idea of attaching the chain at opposite sides and having the piece as a high-sitting choker but in the end decided that would be too uncomfortable.


What do you think of this piece? Do you like it or is it not your style? Do you like reading about how I make my items? If you do, check back soon as I have a few more posts lined up about making some more of my latest designs!


Thursday, 19 May 2011

What's New - June

OK, I know, we missed May but that's because I was away for a large chunk of May and I didn't want to post about exciting new items only to put my shop in vacation mode and have no one able to buy any of them!

I've had a creative few weeks, both before and after my trip, inspired by a trip to my local beadstore and some online bead sales. I'm also slowly realising all the possibilities which have opened up since I bought my tumbler!

First a few pieces which I have mentioned before which are now ready to buy and will be listed very shortly:

I made this Circles Bangle a few months ago when I made the Circles Necklace but at the time it was much too flexible to be worn without having to worry about knocking it out of shape. A few hours in my new tumbler made it much more resistant but still flexible in a springy way so I added a clasp just to make sure it would stay put. This one is already listed on Etsy.

I mentioned this pendant in my April post as I felt a finer gauge chain would suit the small pendant better than any I already had in stock. As it turned out fine copper chain was much harder to come by than I imagined but in the end I managed to find this copper-coloured base metal chain which works well.

Not exactly a piece I've mentioned before if you read one of my March posts you will probably recognise the design. This is a necklace designed to match the Aquamarine Bubble Earrings and Bracelet which are already in my shop.

These earrings were made to match the Emerald Stack Necklace from my Fresh Cut Grass Inspiration Post but somehow fell by the wayside and didn't make it onto Etsy. I will be rectifying that later!

Now to the exciting part - the completely new designs!
These earrings have more of a vintage feel than most of my items and remind me of a fleur-de-lys. The central bead is a Brioche Agate with striking grey and brown diagonal markings. Look out for an upcoming post explaining how I made them!

These stark earrings play off the contrast between the opaque white Howlite with grey marbling and the warm hammered copper.

These earrings are a new favourite of mine - I took a pair on vacation with me! They are so delicate I just have to make a version in silver for my (fairly neglected) wedding range. A faceted Rose Quartz briolette is framed inside a very simple copper teardrop shape with a small section of wire wrapping.

Another piece for the wedding range. I haven't made a purely beaded item in a long time but these delicate beads just begged for a simple design. Both beads are June birthstones - a freshwater Pearl and a translucent Moonstone with a small Sterling Silver spacer between.

While I was looking for inspiration for June these small Rubies just kept staring at me so in the end I had to pick them up and make an early July piece...

Which turned into another matching set consisting of earrings, bracelet and pendant.

And I liked it so much I started on another set in Peridot and this set with Amethyst. The frame is black annealed steel with sterling silver wire wrapping and earwires. I'm thinking of oxidising the silver too, to bring it into line with the black of the frame. I will have to oxidise one earring and then compare the two, let me know which you think will look better.

Finally, this striking pendant. I have a post ready to go all about this one so I'm not going to go into details now.

Which of my new items is your favourite? Are there any other colour combinations you would love to see?

Wednesday, 18 May 2011

Asymmetric Necklaces

Has anyone else noticed that lately the trend in necklaces is increasingly towards asymmetric designs?

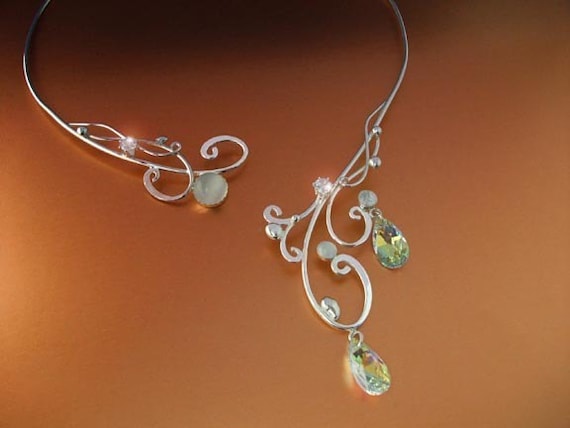
Asymmetry has been seen for a while in items like torcs and chokers, which sit high on the neck and are usually rigid. This elven-style bridal torc is a stunning example.

Bridal Torc by ElnaraNiall

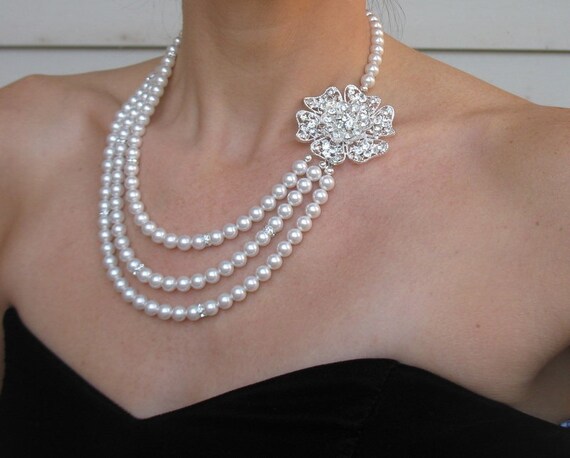
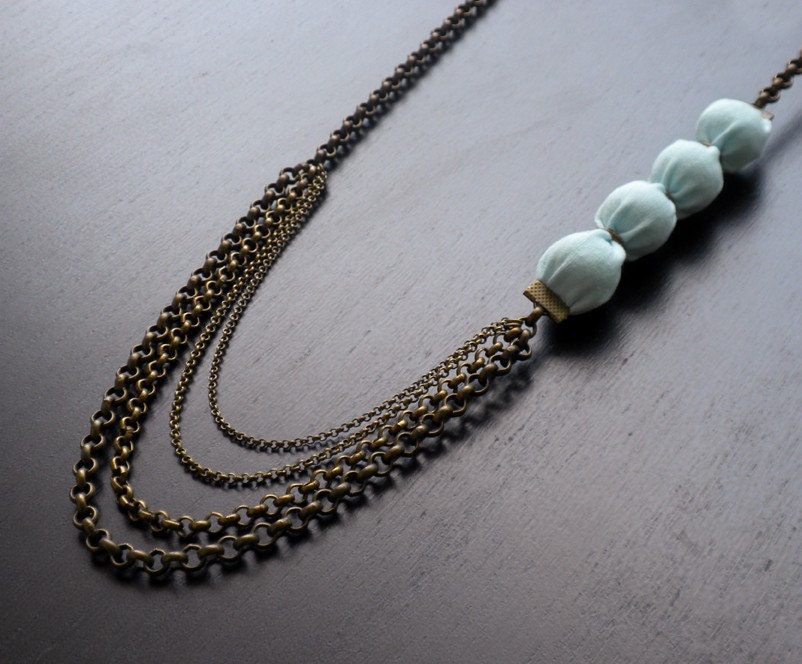
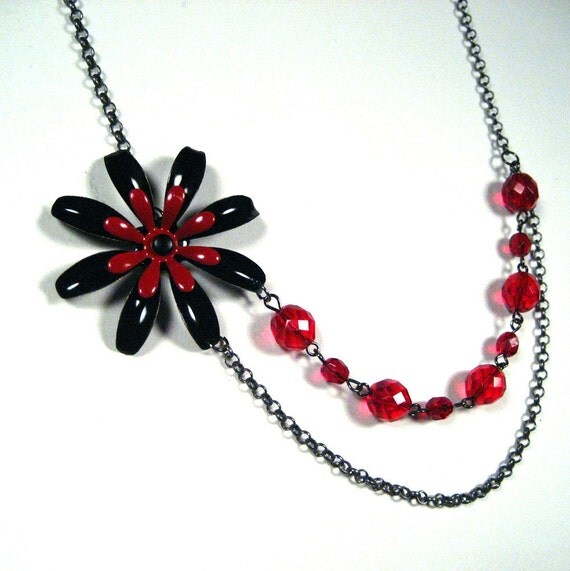
More recently slightly longer and more flexible designs have started to feature asymmetry. The major design trend seems to be to place the focal point of the necklace to one side and then have the chain continue down and around. Often the lowest part of the necklace will be beaded as well.
Here are 3 very different examples of this style of design:

Denise Jewelry Designs
Spiderella Studio

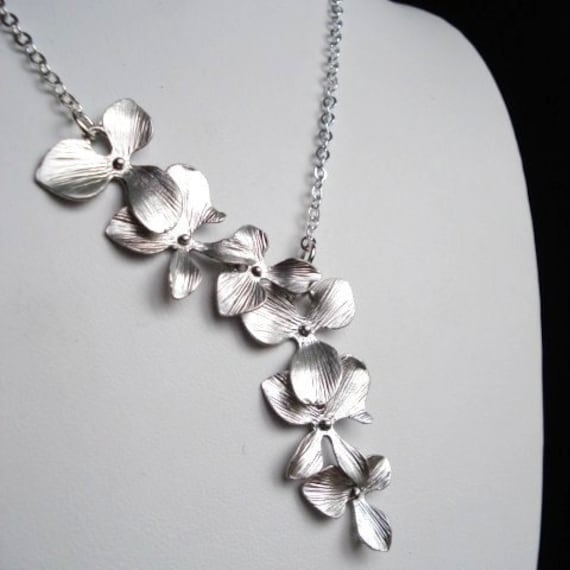
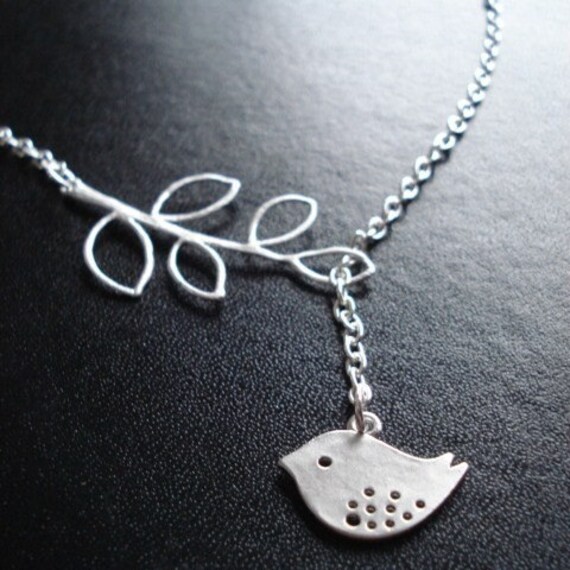
Another asymmetric trend is to have one length of chain or design continue down after the 2 have met in the middle. Often a dangle of some kind is placed on the end.
Here are a few beautiful examples:

Forevermore Creations

Also from Forevermore Creations

Le Collezione

An experiment in soldering a flower resulted in a focal piece I decided would lend itself perfectly to the 2nd style of necklace. A few golden Citrine beads later and I produced this summery piece:


The flower is made from six individual copper petals soldered together. I added some gold tone wire wrap around the centre to represent pollen and to add some contrast. However, since I made it I have decided that the flower is too large for the necklace and that I can do a better job on the soldering since I've had some more practise. So I'm going to remake the flower and then I will be listing this on Etsy, look out for it :)