This site has moved! Old posts will remain here but new posts will be at www.embergrass.com/blog. Please go there to keep up with new content and re-subscribe!

Showing posts with label Copper. Show all posts

Wednesday, 29 June 2011

Sale!

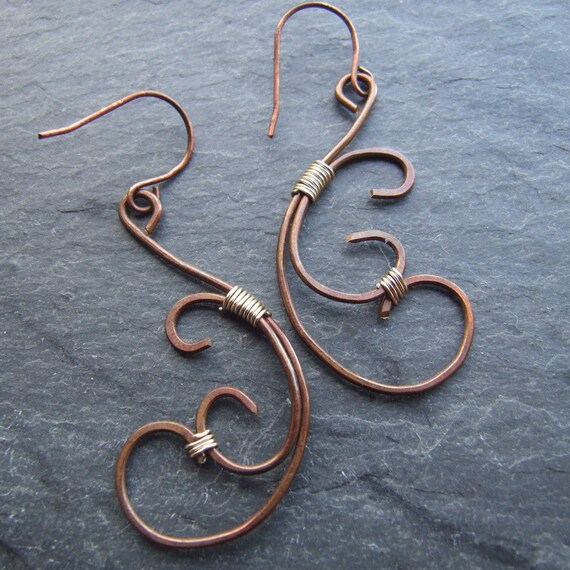
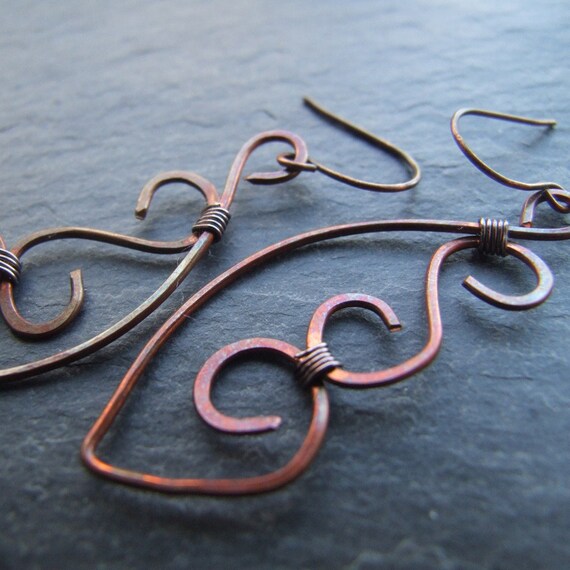
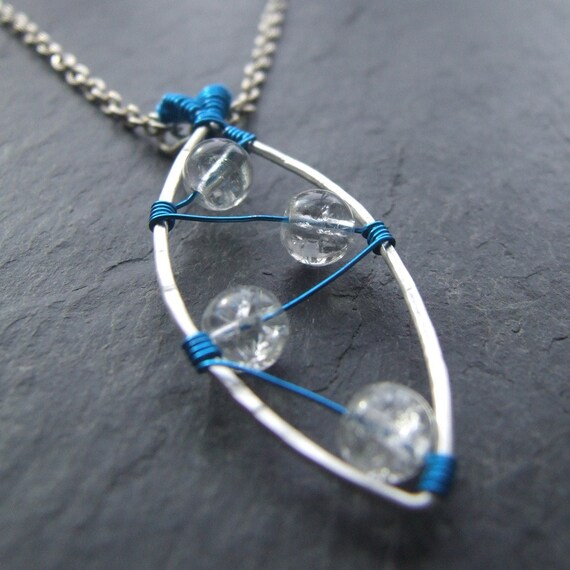
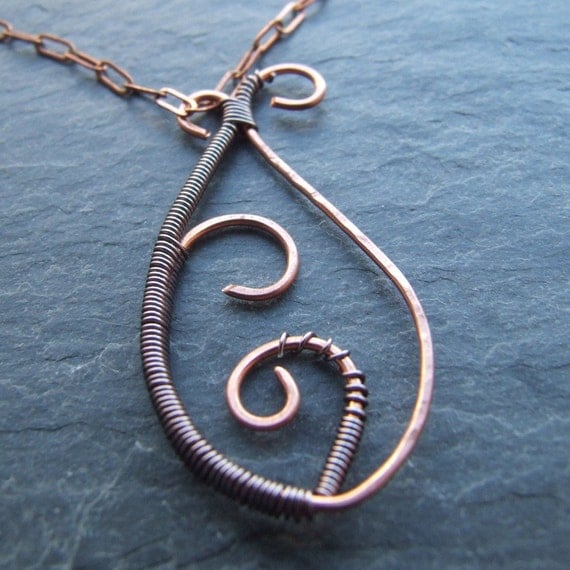
I'm getting a little concerned that I may have reached the point where I have too many different items on sale in my Etsy shop, making it just too hard to choose which one to buy. Add to that the fact that I have loads of new designs floating around in my head... so I have decided its probably time to retire some older pieces.

This means I'm having a sale! A few select items in my shop have been reduced by up to 50% to make space for my newer designs. I will not be making any of these sale items again once they sell so this is your last chance to buy the ones you like. Take a look at the items on offer...


If you like any of these items click here to take a look at them in my Etsy shop!

Thursday, 19 May 2011

What's New - June

OK, I know, we missed May but that's because I was away for a large chunk of May and I didn't want to post about exciting new items only to put my shop in vacation mode and have no one able to buy any of them!

I've had a creative few weeks, both before and after my trip, inspired by a trip to my local beadstore and some online bead sales. I'm also slowly realising all the possibilities which have opened up since I bought my tumbler!

First a few pieces which I have mentioned before which are now ready to buy and will be listed very shortly:

I made this Circles Bangle a few months ago when I made the Circles Necklace but at the time it was much too flexible to be worn without having to worry about knocking it out of shape. A few hours in my new tumbler made it much more resistant but still flexible in a springy way so I added a clasp just to make sure it would stay put. This one is already listed on Etsy.

I mentioned this pendant in my April post as I felt a finer gauge chain would suit the small pendant better than any I already had in stock. As it turned out fine copper chain was much harder to come by than I imagined but in the end I managed to find this copper-coloured base metal chain which works well.

Not exactly a piece I've mentioned before if you read one of my March posts you will probably recognise the design. This is a necklace designed to match the Aquamarine Bubble Earrings and Bracelet which are already in my shop.

These earrings were made to match the Emerald Stack Necklace from my Fresh Cut Grass Inspiration Post but somehow fell by the wayside and didn't make it onto Etsy. I will be rectifying that later!

Now to the exciting part - the completely new designs!
These earrings have more of a vintage feel than most of my items and remind me of a fleur-de-lys. The central bead is a Brioche Agate with striking grey and brown diagonal markings. Look out for an upcoming post explaining how I made them!

These stark earrings play off the contrast between the opaque white Howlite with grey marbling and the warm hammered copper.

These earrings are a new favourite of mine - I took a pair on vacation with me! They are so delicate I just have to make a version in silver for my (fairly neglected) wedding range. A faceted Rose Quartz briolette is framed inside a very simple copper teardrop shape with a small section of wire wrapping.

Another piece for the wedding range. I haven't made a purely beaded item in a long time but these delicate beads just begged for a simple design. Both beads are June birthstones - a freshwater Pearl and a translucent Moonstone with a small Sterling Silver spacer between.

While I was looking for inspiration for June these small Rubies just kept staring at me so in the end I had to pick them up and make an early July piece...

Which turned into another matching set consisting of earrings, bracelet and pendant.

And I liked it so much I started on another set in Peridot and this set with Amethyst. The frame is black annealed steel with sterling silver wire wrapping and earwires. I'm thinking of oxidising the silver too, to bring it into line with the black of the frame. I will have to oxidise one earring and then compare the two, let me know which you think will look better.

Finally, this striking pendant. I have a post ready to go all about this one so I'm not going to go into details now.

Which of my new items is your favourite? Are there any other colour combinations you would love to see?

Wednesday, 30 March 2011

What's New - April

I've got a few new pieces I'd like to share with you for this month :)

Of course there is a new birthstone piece - Quartz for April. This time, instead of a matching bracelet and earrings I have made earrings and a pendant. However I decided that the smaller size and more delicate feel of the pendant meant that it would work better on a finer chain so I am ordering some in, until then just the earrings will be available to buy.
Teardrop Earrings
If you loved my Aquamarine Bubbles set but prefer chunkier jewelry, the next items are for you :) Using my new 14 gauge wire I have created some thicker circles and used them in another bracelet and earring set in a similar style to the Bubbles set. This particular set is made using blue Sodalite but, as always, I can make the same design using any colour of gemstone bead I currently have in stock.


The rustic texture from hammering is much more visible on the larger circles and the thicker wire lends a much bolder, chunkier feel to the pieces.
Do you prefer the more delicate feel of the finer wire or is chunky more your style?

Tuesday, 22 March 2011

Soldering Copper

A few weeks ago I picked up the tools I needed to start soldering. I did quite a bit of research beforehand to work out exactly what I needed to make sure I got the right stuff and avoided buying things I didn't need. I work mostly with copper - I just love the warm, rustic colour - but most of the guides were for silver. Where copper was mentioned it was pretty clear that you can use exactly the same equipment and technique for both.

I did find quite a few blog posts discussing the fact that silver solder is silver coloured and will therefore contrast with the rest of the piece if you make it in copper. I actually used that to my advantage when I made my husband a wedding band. When I was doing my research the most common solution was also very simple - add a steel nail to your pickle pot and it will cause copper to plate onto the solder thus colouring it copper.

The silver solder is clearly visible on
these earrings

It sounded simple so I decided I would do it. Unfortunately it had no effect whatsoever. For some pieces it wasn't a problem, if there is wire wrapping involved I can just make sure to wrap over the soldered join and it will be invisible.

However on pieces like these earrings the silver blobs are clearly visible and clearly incongruous with the rest of the piece. As a result these earrings have still not been listed online. Filing could help to reduce the visibility by smoothing the curve but the silver will still be visible so I decided to continue my research.


I found out 2 things:
The reason the plating hadn't worked was probably because I used a galvanised steel nail rather than ordinary steel. I'm not even sure if nail packets specify the material they are made from but I certainly didn't think to check.

I also found out that you can buy copper coloured solder. None of the large websites seem to stock it but it can be found elsewhere (including Etsy) and I have ordered some.
It hasn't arrived yet but when it does I will definitely post up about my experiences with it.
If you have any experience with either method, or maybe a completely different one, let me know in the comments.

Copper Solder from Unkamen Supplies
In the meantime I have also ordered several gauges of sterling silver wire so I can start recreating some of my more popular designs in silver and also use up the silver solder I bought. Which metal do you prefer? Silver or Copper? Or maybe Gold? Let me know :)

Sunday, 20 March 2011

Circles

My most recent circle project
in progress

Since I got my blowtorch and started soldering I have become a little obsessed with circles.

There is just something so attractive about rustic hammered circles. Different sizes, the same size, large, small, dangling or in links.


Bubble Bracelet


It started with the bubble set which uses a combination of small circles and tiny jump rings, not to mention the spherical beads.


Circles Necklace


I couldn't leave it there, I had to create this necklace with even more different sizes of circle.


I'm always trying to create unique designs for bangles as so many follow the same 3 or 4 styles. Enter the circles... again.

Circles Bangle

This bangle is designed to match the circles necklace above, though I left out the chain. I love the way it turned out but unfortunately, even though the wire was hammered before and after soldering, it's too flexible to be durable enough to wear often. I'm hoping to get a rotary tumbler soon so I can harden pieces like this but until I do you will have to wait to buy this dramatic bangle :)

I thought that was quite enough circles and I resolved to move onto something else but I just couldn't stay away. I did stick to something a lot simpler though. I want to make more wire-only pieces which use coloured wire to add vibrance and these cute earrings are the first in an attempt to branch that way and will be on Etsy soon. Look out for more brightly coloured jewelry coming soon, possibly even some without any circles in!


Sunday, 27 February 2011

What's New - March

February has been a very creative and productive month for me :) Getting new tools and supplies always inspires me to lock myself away at my desk and try out new things.

12 gauge wire

First up: I decided to try getting a much thicker gauge of wire and seeing how that could influence my designs. I wasn't entirely sure which gauge I wanted to go for, all I knew is that it had to be thicker than 18 - the thickest I currently have. In the end my decision was made for me when 16 and 14 were sold out... so I got 12. I didn't anticipate quite how thick it was going to be, I could barely cut it when I tried!

That detail aside I love this thickness for hammered projects and have 2 shop-worthy ones so far:
Hammered Dangle earrings


I'm still working on a good
picture for this one


After finally finding a bracelet design that looked good but wasn't a spiral clone of others out there I was encouraged to come up with more ideas. The result was this matching set bracelet and earrings in carnelian.

Wiggle earrings


If you read my recent post New Tools you will know that I also recently acquired a blowtorch and all the necessary paraphernalia for soldering. After making my husband's wedding ring I turned my efforts to simpler tasks, starting with circles.
I also picked up some aquamarine beads, the birthstone for March, and decided they were perfect for my new project, even tying in with my icy inspiration post from January: inspired by an old earring design but much improved - another matching bracelet and earring set:
Bubble earrings

Bubble bracelet


Look out for a future post explaining how I made these.


My final items to share with you are also circle inspired. Now I can use solder to close joins and make full circles I was able to update the design for my triple hoop earrings so they hang much more naturally.


Inspired by these earrings I decided to create a matching necklace using the same circles but a much more complicated design. In this piece the circles are overlapping and I have brought chain into the design as well.


Expect to see all these new items (and the updated old ones) in my Etsy shop over the next week!


Sunday, 20 February 2011

Make the jewelry to match the dress

You may remember my post back in August where I designed and made an item of jewelry around the dress I was planning to wear for a party. Well last night I had another party to go to and a different dress so I decided to do it again.

The dress I chose was a neutral shade of pink in satiny fabric with a black detail over one shoulder. I decided to pick out the black by wearing black shoes and carrying a black bag so I thought it was probably best to follow it through into the jewelry.


The shoulder detail is embellished with some black faceted 'buttons' and I have some perfect vintage black faceted beads which I inherited from my grandma. The vast majority of my work is in hammered copper wire and I felt that copper would be a good choice to add some warmth and still fit with the neutral dress.


I started by making some earrings in a style I have been meaning to try out for some time. I used 18 gauge wire to make a long paddle pin, threaded the bead onto it and finished it very simple by attaching the end to an ear wire.
Unfortunately I lost one of the earrings at some point so I think I'm going to have to find a supplier for those little plastic tubes to slide onto the back to help keep the earrings in.


I wanted to continue with very simple, elegant pieces and I'm not a big necklace wearer so I made this very basic pendant with just a bead and a headpin on some decorative copper chain.


I am still practicing making wire wrapped rings so I took another of the black beads and completed the set with a swirly design. This one turned out better than any other so hopefully I am finally getting the hang of it.

I finished the outfit with a hammered copper bangle - a new design which I will be showing you in another post very soon.

Saturday, 4 December 2010

My Crafting Process

I made another sale yesterday (yay!) and as I started to craft the items for my customer I realised that now would be a great time to take some pictures and share with you a little about how I make my pieces. In a previous post I talked about my design and selection process so this post will provide a little more detail for the middle stage in that - crafting the items.

The earrings the customer ordered
Raw Materials


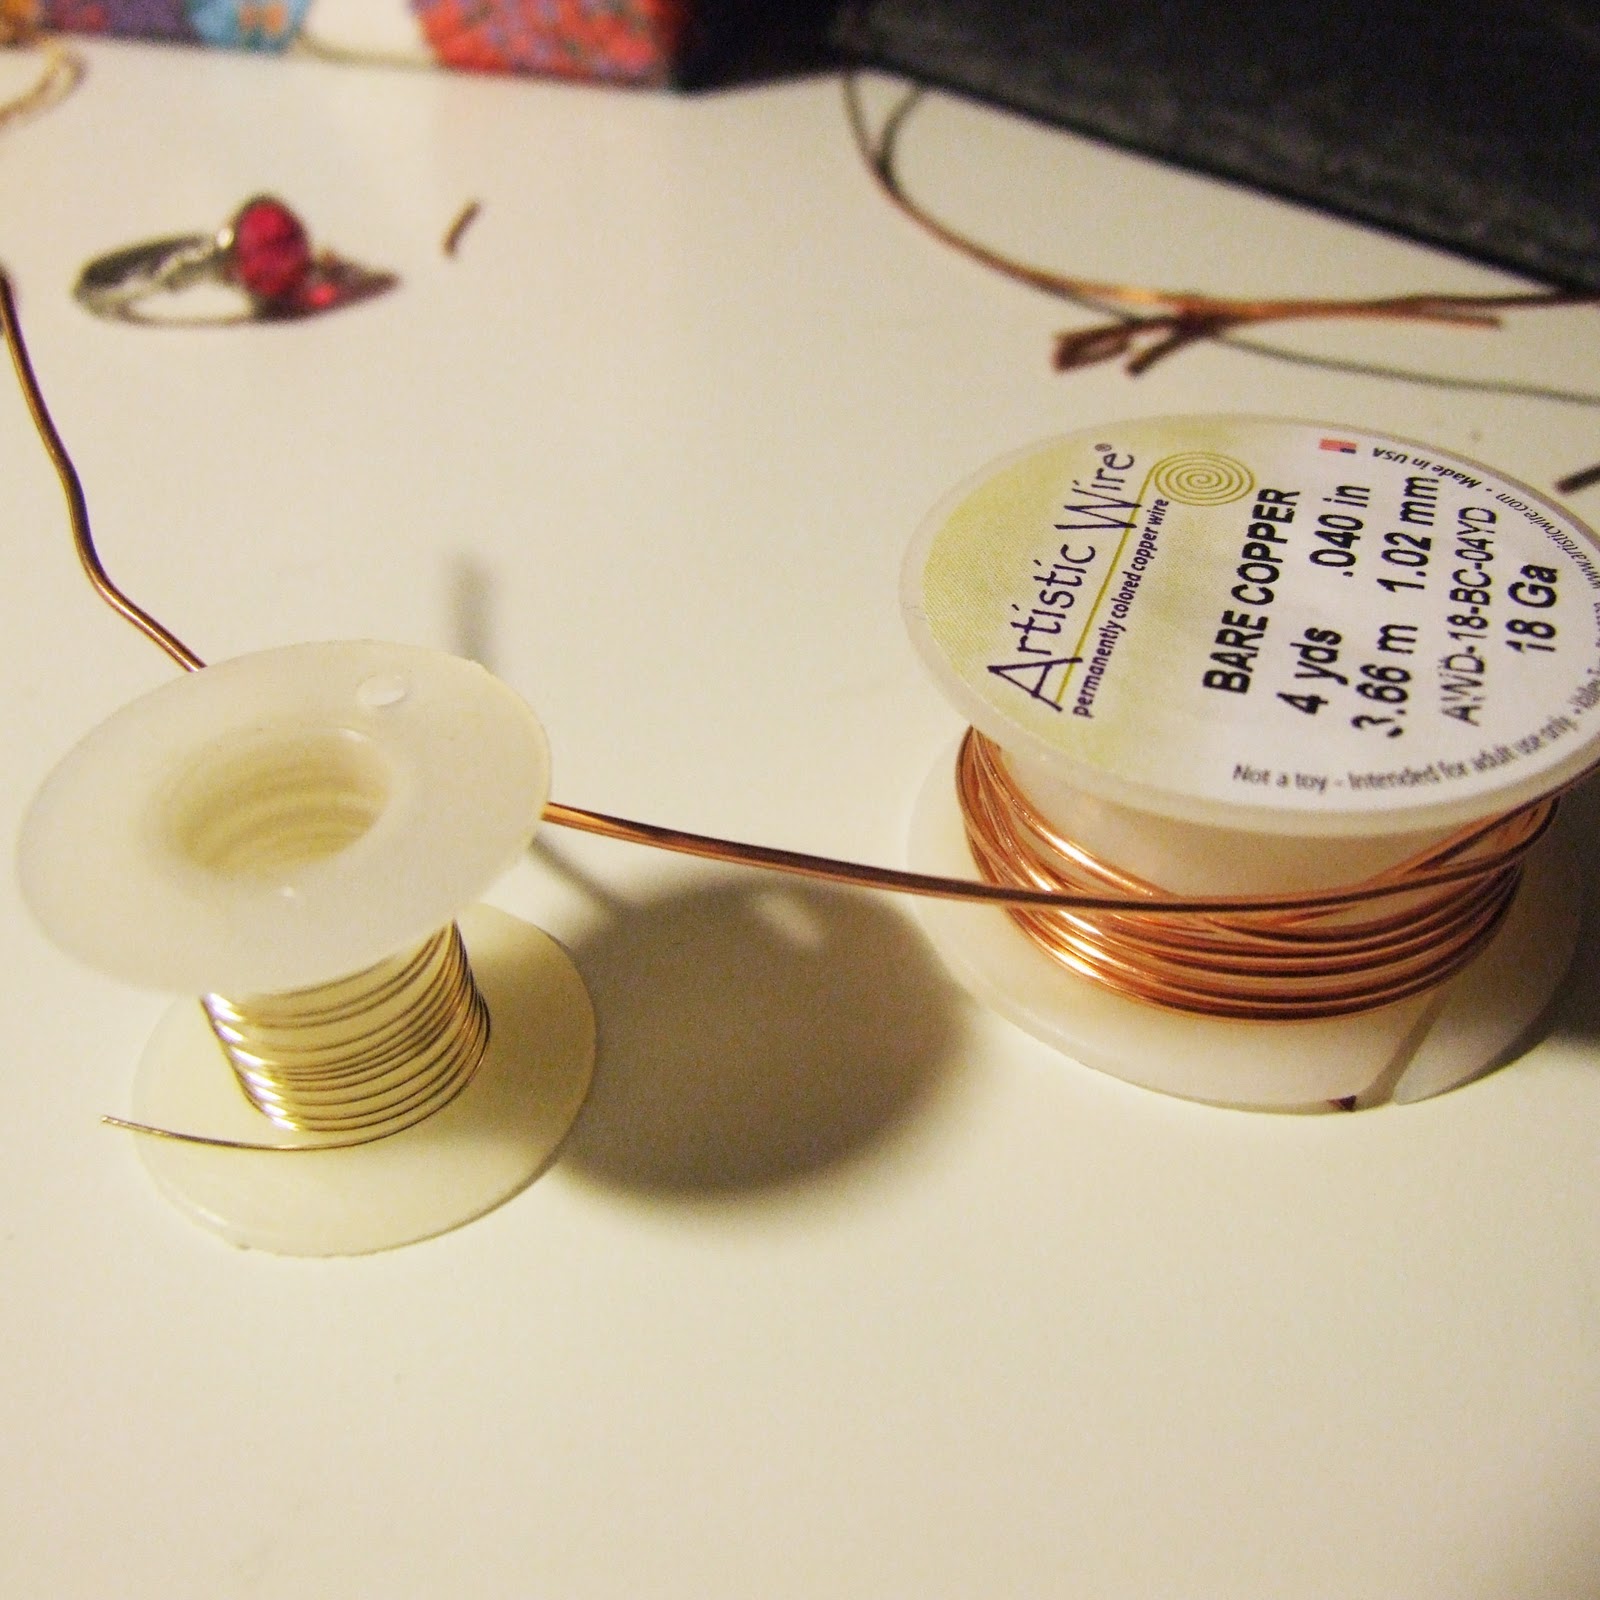
I started out with my raw materials, in this case some 18 gauge copper wire and some 26 gauge golden wire.


The shaped pieces


The first stage is to measure out and cut the pieces of copper wire that I need to make the basic shape. I then use my round nosed pliers to form each piece into the right shape. Sometimes I also use cylindrical everyday objects to form larger circles and curves.


For earrings I always make both at the same time so I can make sure wires are the same length and shape for each half of the set.


Hammering the wire
The wire pieces need to be hammered so they sit flat on the surface and to reduce their flexibility. Copper wire is very soft and can be easily moulded. This makes it great to work with but is not so great in the finished product. I don't want the customer to catch the earrings on something and have them pulled out of shape. Hammering not only toughens up the wire, it also adds a texture and this can be varied depending on the shape of the head of the hammer and the angle at which the hammer strikes.

The shapes often change slightly during hammering so I always check them over and tweak any pieces back into the right shape.

Here you can see one earring assembled and
 the other ready to go

The hammered pieces are ready to be assembled. I cut small sections of the gold wire and simply wrap the pieces together in the correct place. Some pieces are much more fiddly than others when it comes to this stage. Chain nosed pliers often come in handy to pull pieces of wire through small gaps and to neaten the rows of wire and make sure they lie next to each other.

The final stage is to add the ear wire. I always make sure that the ear wire is oriented such that when the earrings are worn, one faces one way and the other faces the other.


In these pictures you can see the difference in colour between a copper piece freshly made and a piece a week or 2 old. Personally I like both the bright, shiny finish and the dull, tarnished finish to copper. Its easy to keep a copper piece shiny using the same polish you would use on sterling silver.


Tuesday, 23 March 2010

Copper

I already mentioned my love for copper in a previous blog post so, of course, I had to make a whole post dedicated to it.

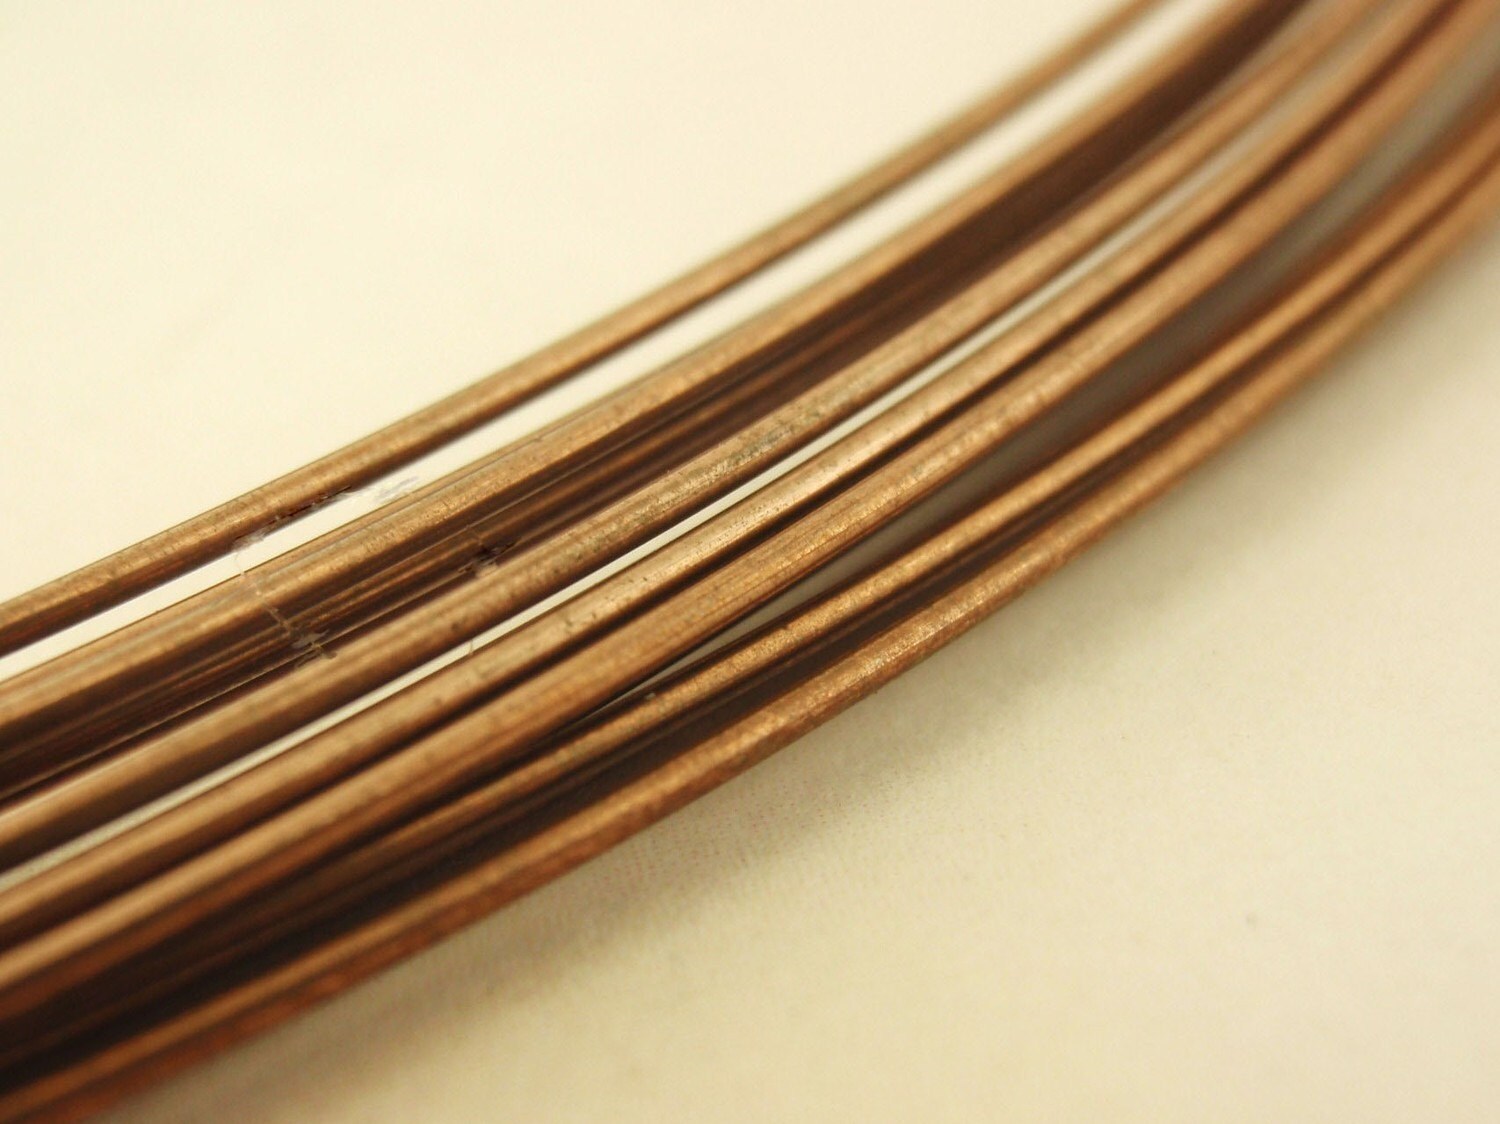
Copper is one of the few metals to be used jewelry making as well as for more practical purposes. Copper replaced lead in pipes when they discovered lead was poisonous and is also used in electrical wires because it conducts very well. Gold conducts better but is rarer and more expensive and only used in very high quality electrical equipment, such as speaker connectors for very high sound quality. Copper has also been used to cover roofs to waterproof them, over time it reacts with the elements to leave that unique shade of green we see today.

Copper is not rare, unlike many jewelry metals, but it has a unique colour that no other metal can match, gold being the only other metal that isn't a shade of white/silver/grey. It is this colour that has led to its popularity in jewelry, added to the fact that it is easy to work with and will not tarnish quickly or react with water or your skin! Copper is also used to mix with other metals to produce brass and bronze.

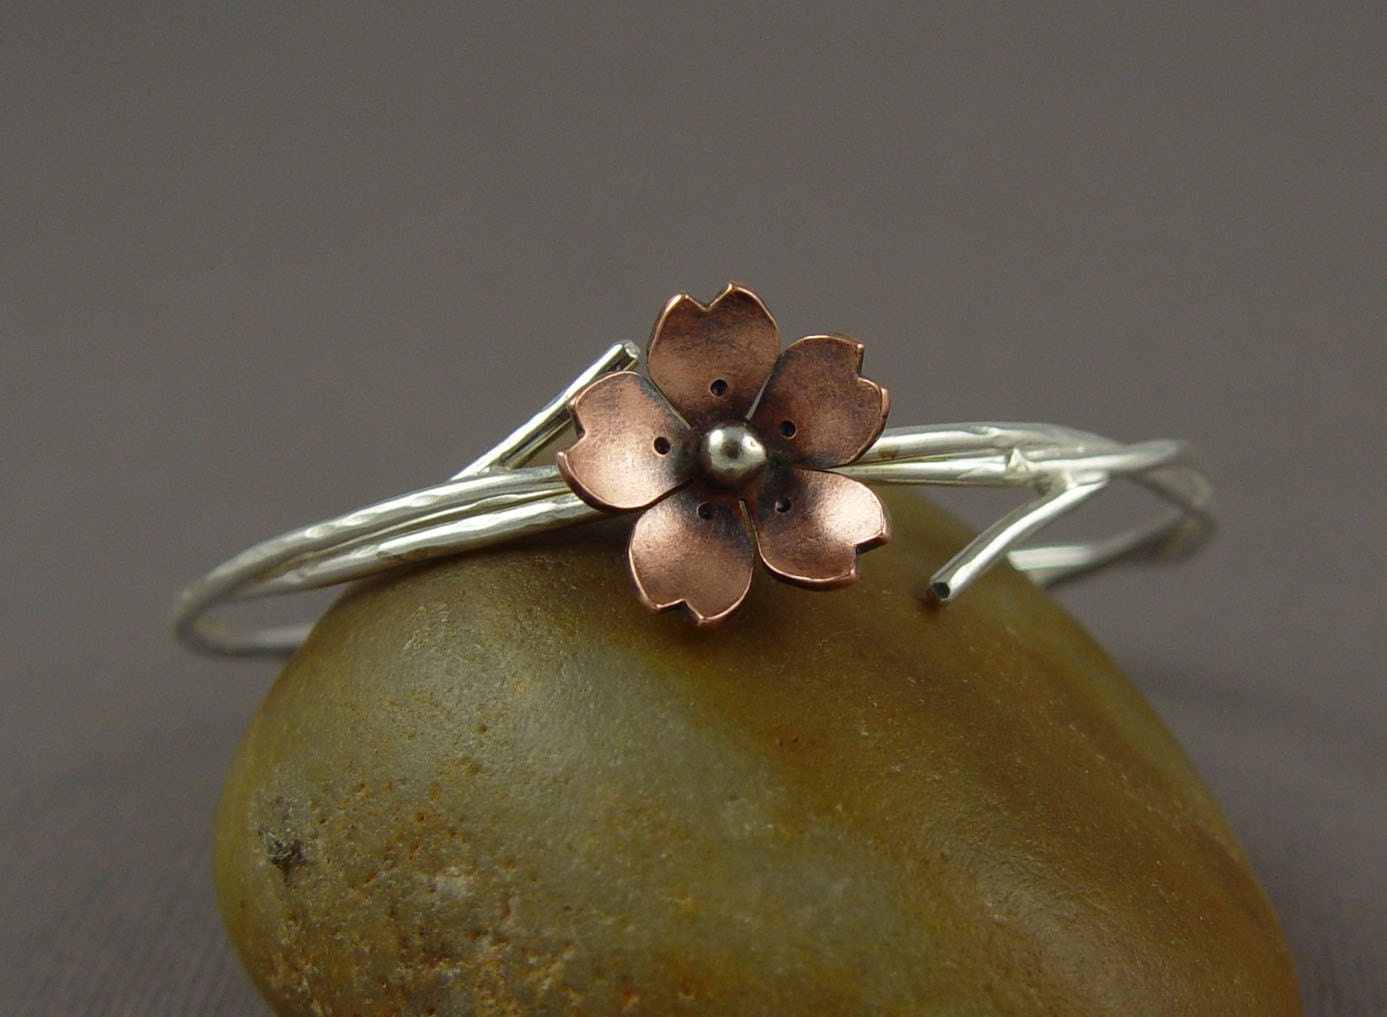
There were so many beautiful items of copper jewelry on Etsy I had a very tough time choosing the best few to feature here so, if you love copper as much as I do, go and search for yourself and see what you find!


Simple yet striking, these earrings are made with copper wire and glass beads and are available from my Etsy shop


I think its the colours and textures I like so much about these copper and sea glass earrings from Juniper Moon on Etsy    


This is so delicate and there are lots of similar designs from Hapagirls


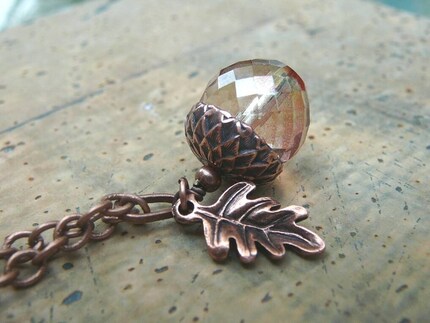
Simple but beautiful acorn from A Fine Distraction


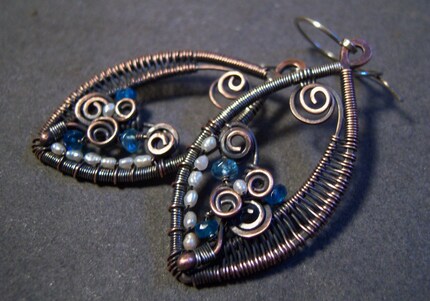
The most intricate wire wrapping I've ever seen and so many more from Jewlie's Beads


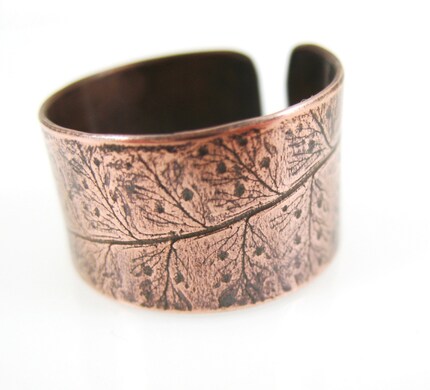
This copper ring is textured with the imprint from a fern frond. Tigerlilly has more designs imprinted by nature as well


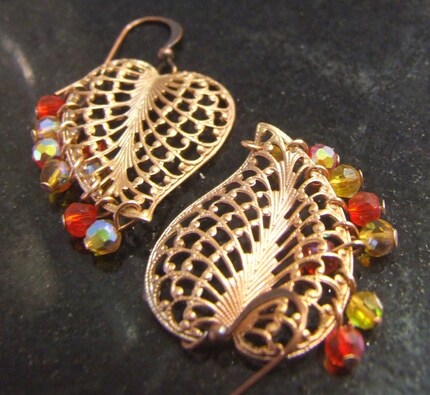
Another item handmade by me to finish. These copper filigree leaves are accentuated with tiny faceted red and yellow glass beads