
 |
| The earrings the customer ordered |
 |
| Raw Materials |
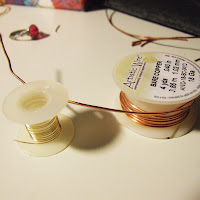
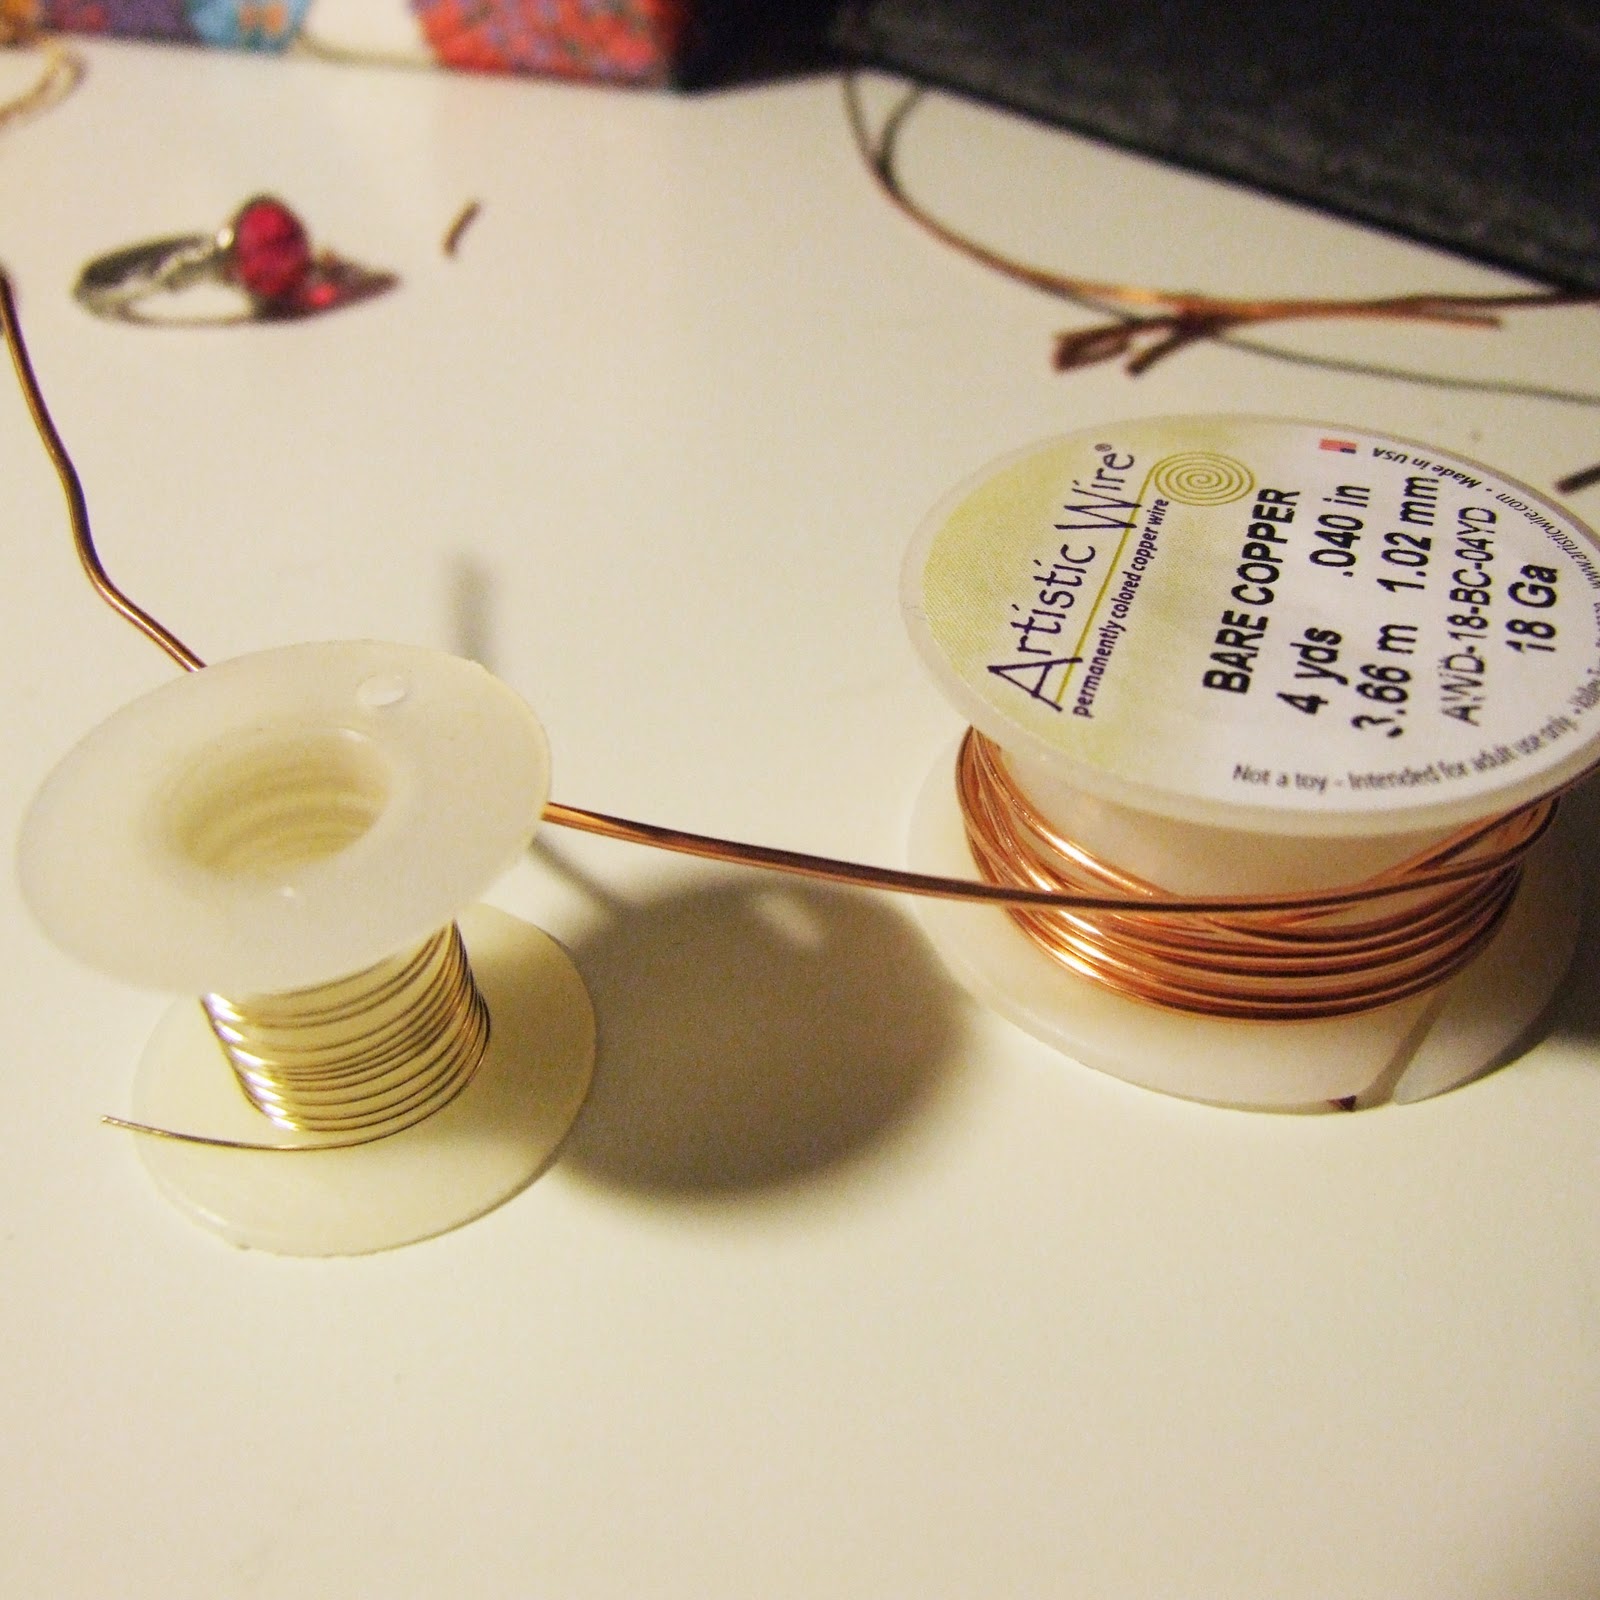
I started out with my raw materials, in this case some 18 gauge copper wire and some 26 gauge golden wire.
 |
| The shaped pieces |
The first stage is to measure out and cut the pieces of copper wire that I need to make the basic shape. I then use my round nosed pliers to form each piece into the right shape. Sometimes I also use cylindrical everyday objects to form larger circles and curves.
For earrings I always make both at the same time so I can make sure wires are the same length and shape for each half of the set.
 |
| Hammering the wire |
The shapes often change slightly during hammering so I always check them over and tweak any pieces back into the right shape.
 |
| Here you can see one earring assembled and the other ready to go |
The hammered pieces are ready to be assembled. I cut small sections of the gold wire and simply wrap the pieces together in the correct place. Some pieces are much more fiddly than others when it comes to this stage. Chain nosed pliers often come in handy to pull pieces of wire through small gaps and to neaten the rows of wire and make sure they lie next to each other.
The final stage is to add the ear wire. I always make sure that the ear wire is oriented such that when the earrings are worn, one faces one way and the other faces the other.
In these pictures you can see the difference in colour between a copper piece freshly made and a piece a week or 2 old. Personally I like both the bright, shiny finish and the dull, tarnished finish to copper. Its easy to keep a copper piece shiny using the same polish you would use on sterling silver.
No comments:
Post a Comment