

However I do keep adding to my plier collection and unfortunately, my little jar was getting too small to fit any more pliers in. I've seen loads of plier stands for sale like this on on the left but I was reluctant to spend any money when, I reasoned, I could make my own.
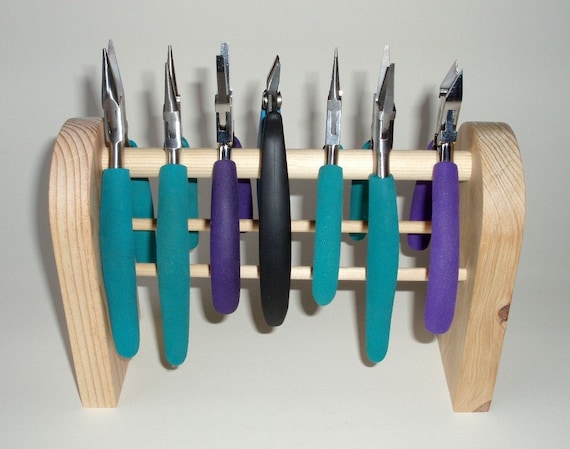 |
| Wooden plier stand from Plane N Grain |
There was a slight problem with making my own. The afore-mentioned living in a 1-bedroom apartment and not possessing woodworking tools. However, when I saw stands more in this style I knew how I could make my own.
Not having woodworking tools isn't a problem when you can use card. I used mountboard (I believe its called mat board or matting in the US) to make sure it was thick and sturdy enough card.

- Start by cutting a rectangle from the card. I made mine 10 1/2 inches by 8 inches. If you have loads of pliers you might want to make yours longer than 8 inches.
- Mark horizontal lines at 4 inches and 8 inches, creating 3 boxes 4x8, 4x8 and 2.5x8 inches.
- Score along the lines you marked
- Fold into a pyramid shape and tape or glue the sides together
- Paint or cover with colourful paper to decorate. Handmade style paper works well because it is very porous and flexible so will absorb the glue well and fold into the corners easily.
 |
| Finished Plier Stand |
I didn't stop with just a plier stand. I also made matching pen pots and the notecard box I mentioned in my last post. The pen pots are just empty Pringles containers, cut to the right height and covered. The notecard box is an old iphone box which just happened to be the perfect size.
 |
| My family of matching desk organisers |
I have been looking for something like this, very creative, thank you!
ReplyDeleteWhat a great idea! I used to do things like that when I was young! Now that I am OLDer my mind doesn't think that way anymore. :-)
ReplyDeleteJust the thing I've been looking for!
ReplyDeleteTHANK YOU!!!! I have had my tools on a dowel and they flopped over all the time. Very annoying! I was going to buy a holder but found your solution on Pinterest and happened to have some gold mat board laying around. TADA!!! Easy, quick and it works!!!
ReplyDeleteI wonder if I can use foam board for this, it is stiff and yet plyable
ReplyDeleteI'm excited to make myself some of these! It crossed my mind after seeing the Beadalon acrylic plier stand, but it didn't really register in my head to just make my own out of cardboard lol
ReplyDeleteI'll bet you could glue the paper to the board before you glued it into a pyramid. Then you won't have to worry about getting it into the corners. I have some rather heavy gift wrap that I am going to try using.
ReplyDeleteNo problem! Glad I could help :)
ReplyDeleteI'm sure you could. The only thing you might have to think about is, if it's too thick, you may not be able to fold it inwards.
ReplyDeleteThat's a great idea, I'm not sure why I didn't do that!
ReplyDeleteThank you!
ReplyDeleteI made one for myself. Just the idea I was looking for.
Great idea! Love upcycling.
ReplyDeleteI was just wondering couldn't you use and old hard back book you was going to throw away and cut that down to use just an idea 😀😉
ReplyDelete